Layouts
One of the biggest pains in all UI design in general is positioning stuff. This is especially troublesome in GD mods, where you can’t really be sure where stuff are located on the screen. If some mod changes the visual outlook of a layer, how are you supposed to figure out where you should position your buttons?
The solution Geode introduces for this are layouts - small classes added to CCNodes that dictate how that node’s children should be positioned. For example, a row layout would lay its children in a horizontal row, whereas a grid layout would lay its children out in a grid. Although, perhaps surprisingly, Geode only adds one type of layout: the AxisLayout class, which actually handles all common types of layouts, including row, column, grid, and flex.
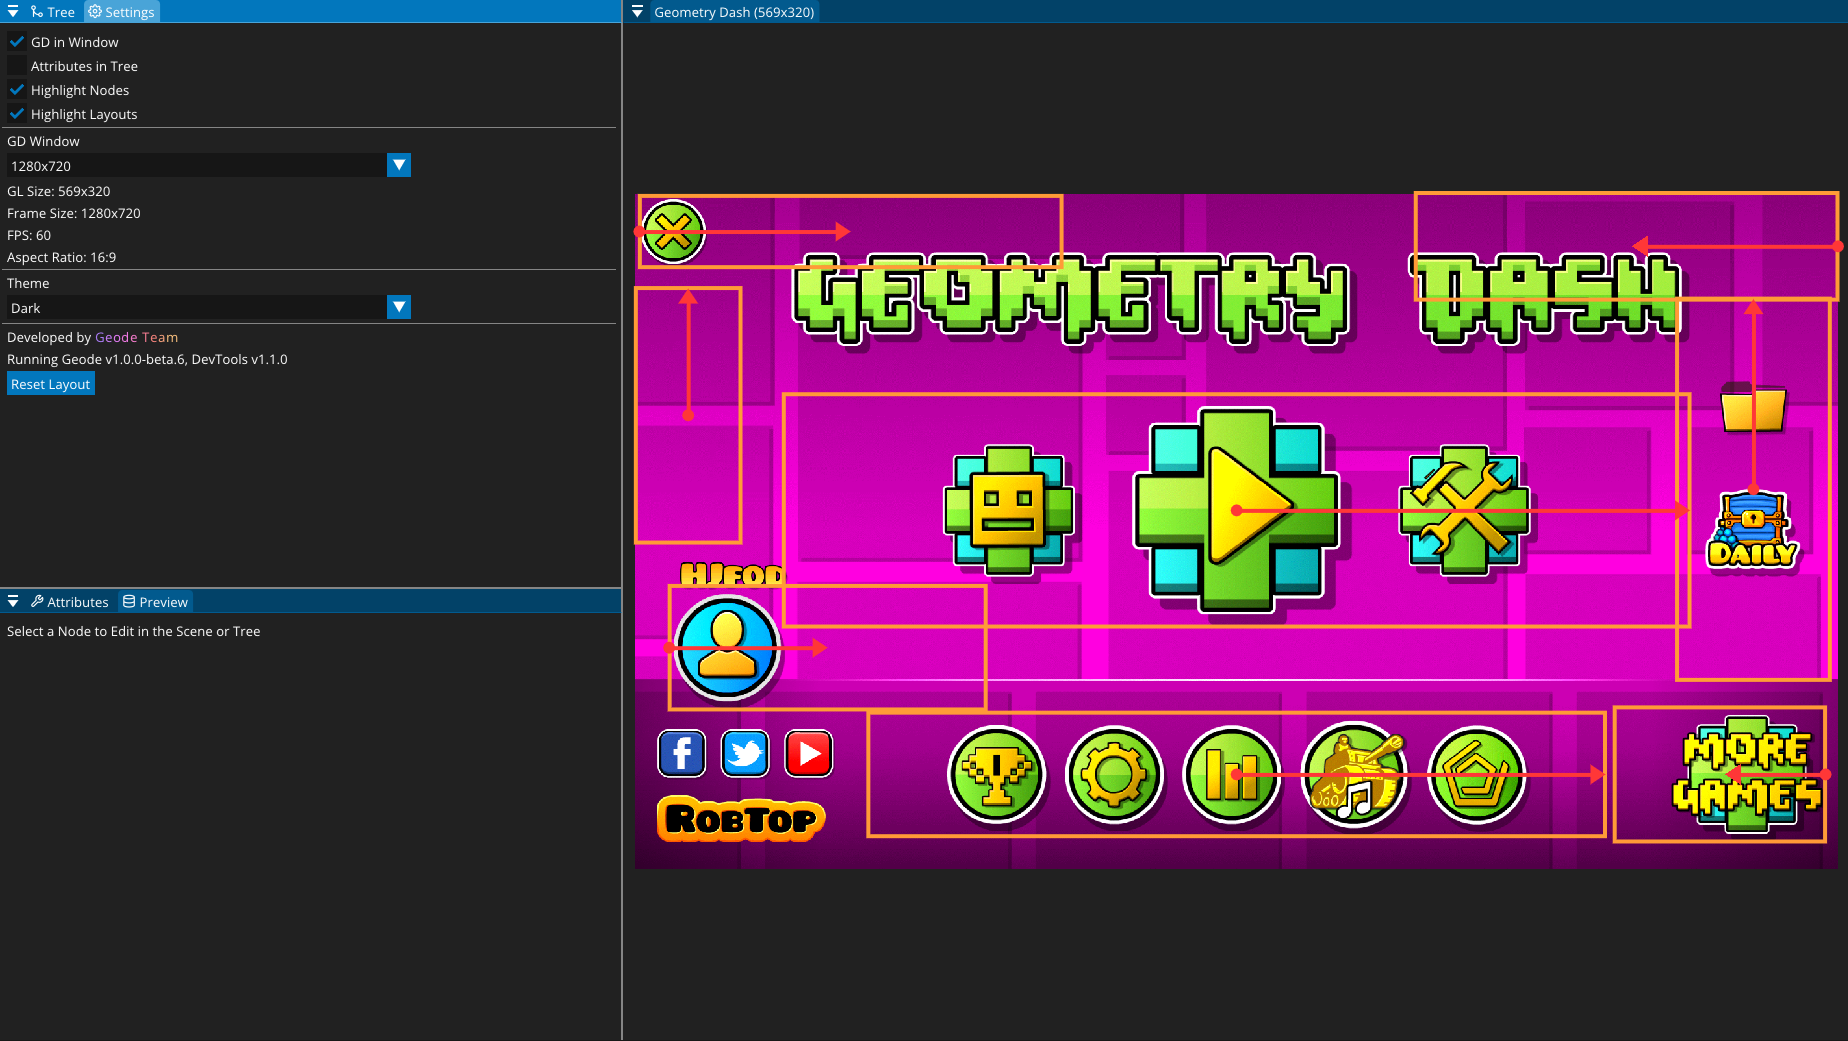
You can view what layouts are visible on screen using the DevTools mod, which has an option to show all layouts in the current scene.

Using layouts to position nodes
Using layouts is very simple - especially if someone else has already set the layout for you. For example, if you want to add a child to bottom menubar in the main menu and position it in a row along with the other buttons there, doing so is very simple:
struct $modify(MenuLayer) {
    bool init() {
        if (!MenuLayer::init())
            return false;

        auto menu = this->getChildByID("bottom-menu");
        menu->addChild(/* create button */);
        menu->updateLayout();

        return true;
    }
};
Notice that we don’t have to do any sort of manual positioning to our button - all we have to do is call CCNode::updateLayout after adding our node to the menu, and it will automatically position the button for us.
Adding layouts
If you’d like to add layouts to your own nodes or overwrite the layouts of existing nodes, you can do so by calling setLayout on the node:
auto myMenu = CCMenu::create();
myMenu->setLayout(RowLayout::create());
AxisLayout
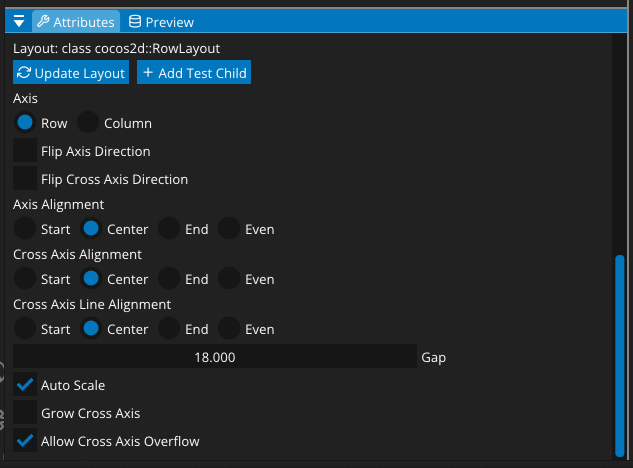
Geode only adds one type of layout, AxisLayout, which is meant to be an all-purpose general layout. It can arrange nodes in a row, column, grid, or even a flex-type flow layout. Geode also adds the RowLayout and ColumnLayout for readability, however you will find that these don’t actually add anything new on top of AxisLayout - they’re just syntactic sugar!
By default, AxisLayout arranges its children in a single straight line. This can be changed using the setGrowCrossAxis method.
You can play around with the different options AxisLayout offers using the DevTools mod.

Custom layouts
If AxisLayout doesn’t fully match your needs, you can also define entirely custom layouts by inheriting from the Layout class and implementing the apply method.